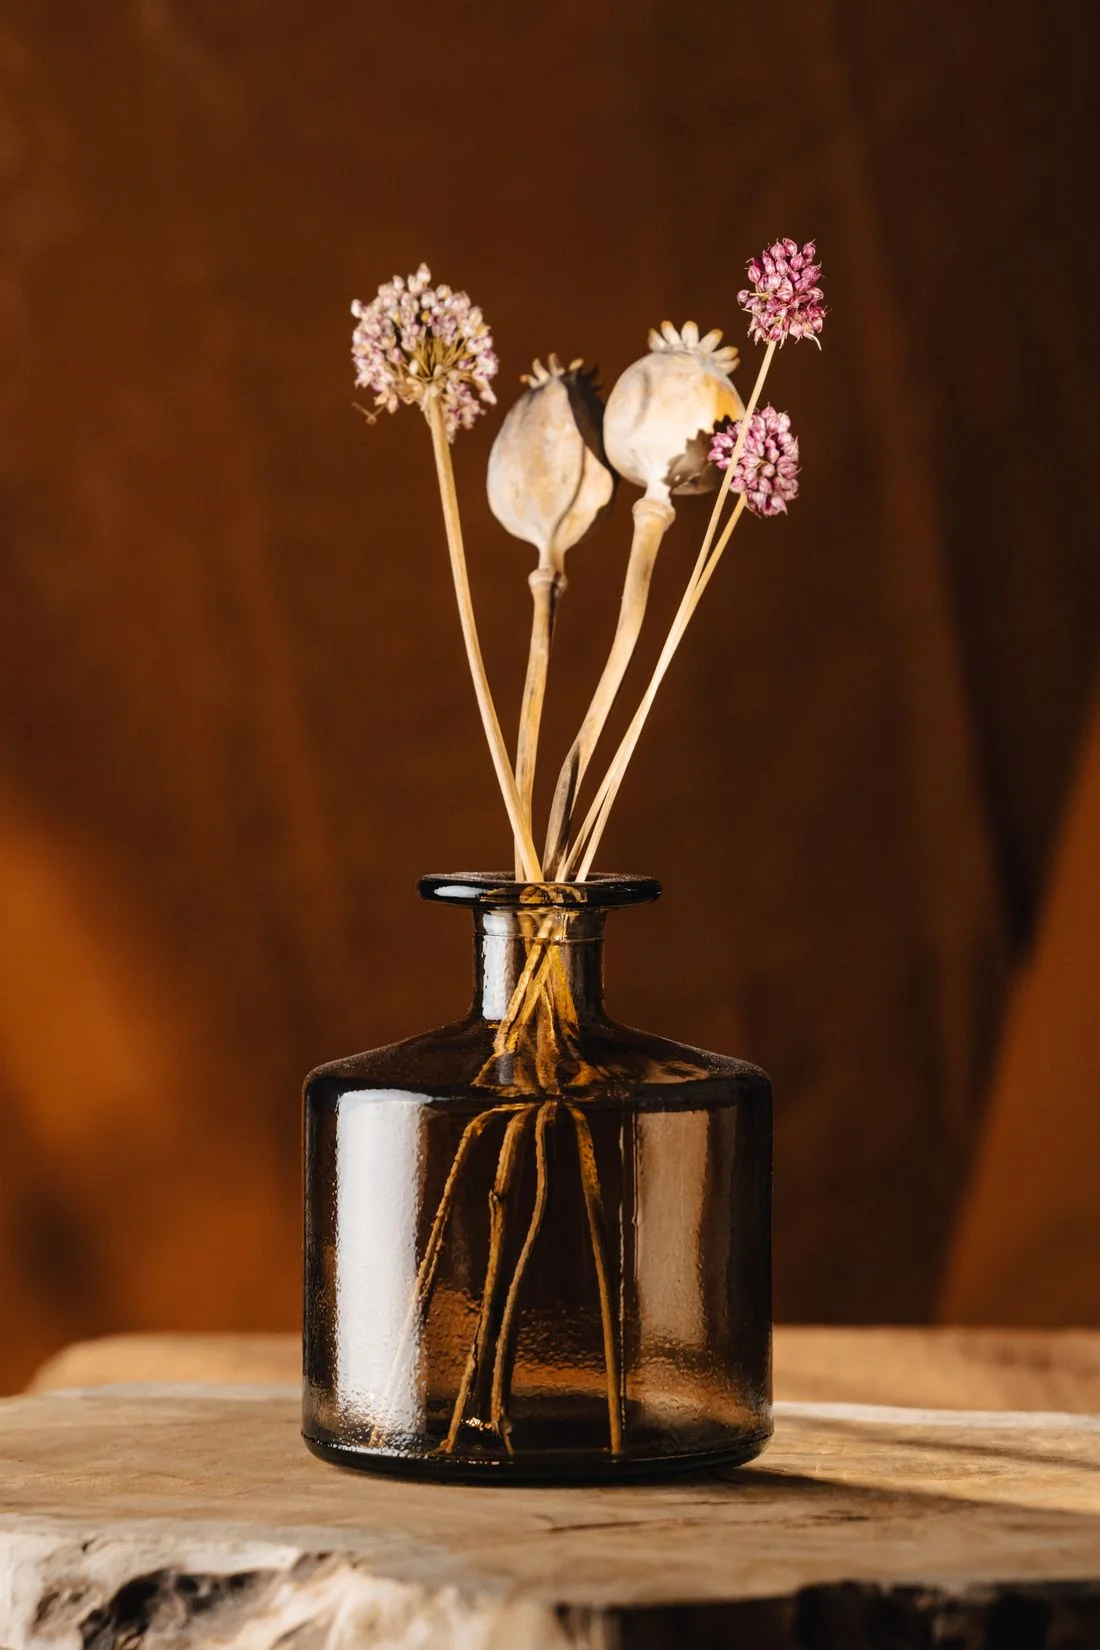
Dried stems tend to look their best when their individual shapes remain visible. Cramming an entire bunch into a vase can hide the very seed heads and branching lines that made it appealing. Start with fewer stems than you expect to use and keep the rest aside.
Choose the vase opening first. A narrow neck supports a small arrangement; a broad mouth allows stems to spread and may require a fuller grouping. The vessel's weight matters too. A tall, airy arrangement can still be easy to knock over if its base is very light.
Set the vase in its intended location before adjusting the stems. Against a plain wall, fine outlines can be beautiful. In front of patterned wallpaper or a packed bookcase, they may disappear. A simple background often contributes more than extra flowers.
Work from the outline inward
Use one stem to establish the upper edge, then add lower shapes that spread slightly to either side. Rotate the vase as you work if it will be seen from several directions. Do not force every stem into a symmetrical fan; a small irregularity can preserve the character of the material.
Check the arrangement from across the room and from the nearest seat. A long branch that looks balanced head-on may project into a walking route. Keep brittle heads away from shoulders, opening doors, and curtains that will brush against them.
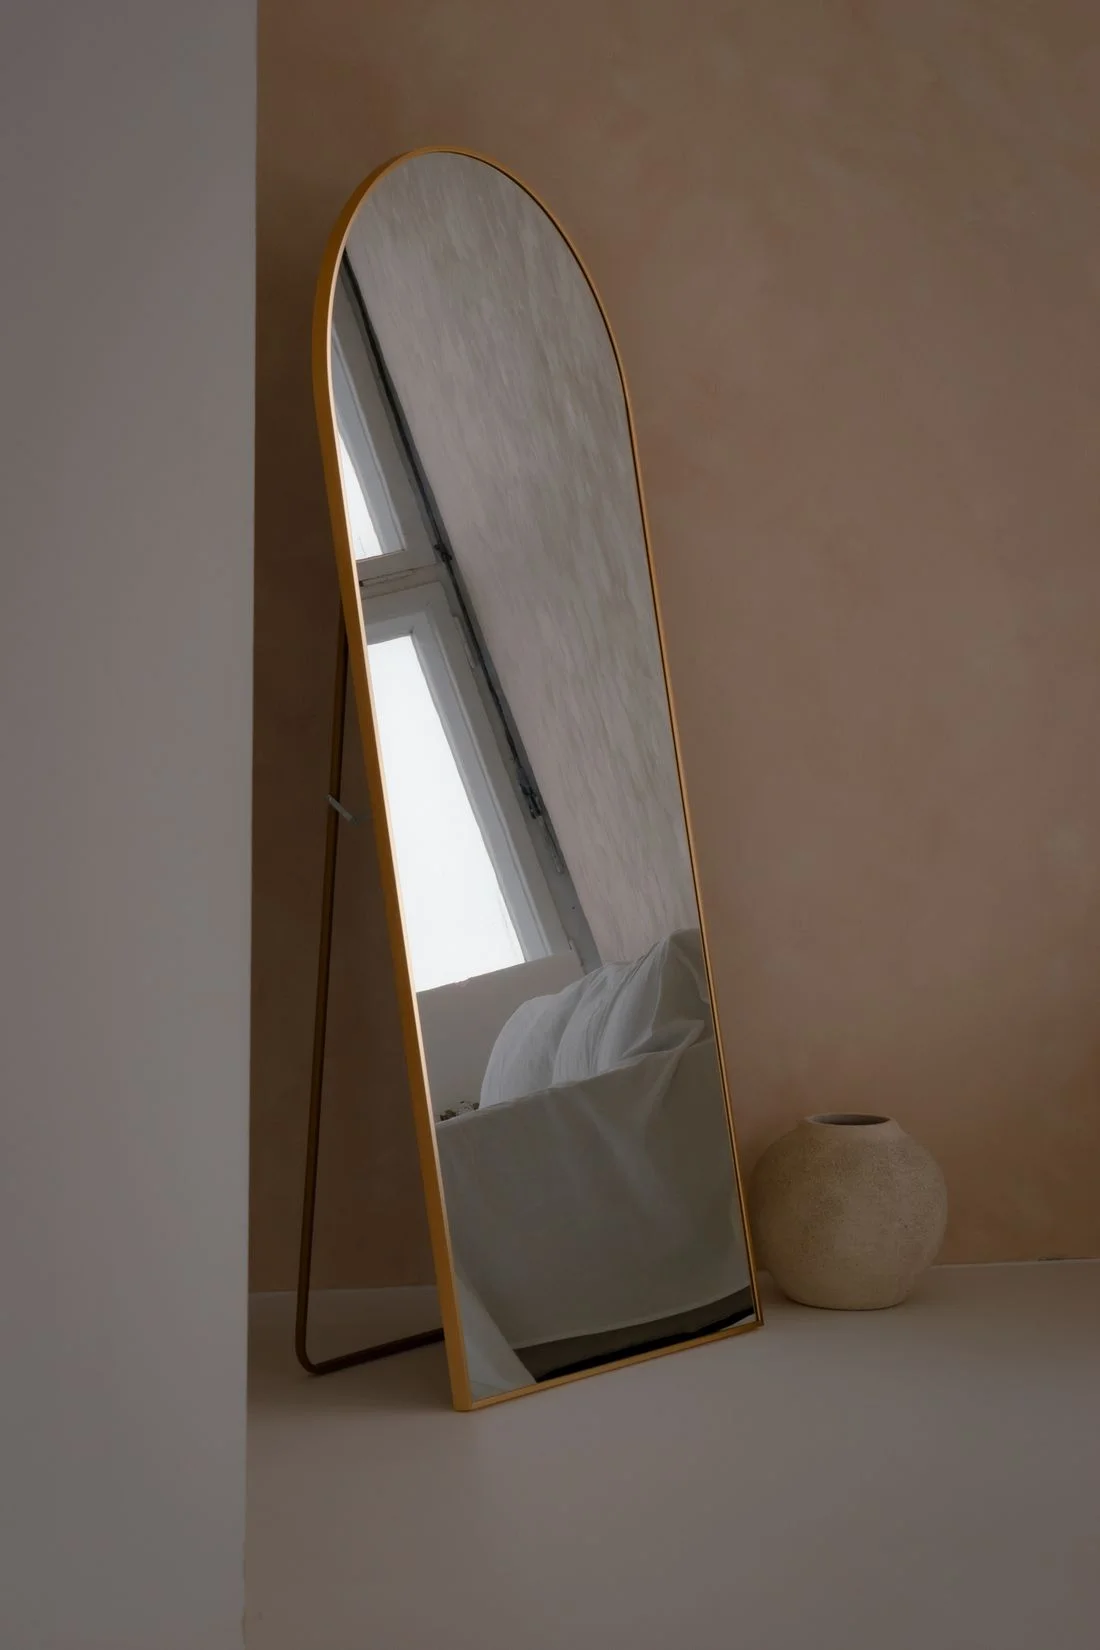
Color can stay restrained. Brown glass, cream pottery, or a muted vessel can support natural-looking stems without matching them exactly. If the stems are dyed, make sure the color works beside the existing textiles rather than trying to repeat it throughout the room.
Place the finished arrangement where it will be handled infrequently and follow the supplier's care guidance. Keep it away from open flames and heat sources. When stems become damaged or the composition starts to look crowded, remove the affected pieces instead of automatically replacing the entire bunch. A smaller arrangement can remain attractive for its shape alone.